Makerspace: A 3 Step DIY Guide to Creating One in Your Classroom
Author: Bridget Zahradnik
August 12, 2019
Makerspaces have become very popular of late, but one might be wondering about a lot of the logistics behind getting it up and running in the classroom. What do students build? Where do students get their ideas? Where does one get materials? How does one store the materials in a classroom space? How does one make time in an already packed curriculum? What are the benefits of allowing this time? If one has wondered these things and is hesitant to start on account of these questions, read on for a 3-step guide to creating your own classroom makerspace packed with a purpose!
Makerspace: What Are They?
Makerspaces provide hands-on, creative ways to encourage students to design, experiment, build and invent as they deeply engage in science, engineering and tinkering. A makerspace is not solely a science lab, woodshop, computer lab or art room, but it may contain elements found in all of these familiar spaces. One will find one’s classroom makerspace to have all of these elements as well. The key is helping students understand how to use STEAM (Science, Technology, Engineering, Art, and Mathematics) effectively in their design process. In order to help your students become effective in the design process, they must first understand design thinking.
Let’s begin with the ideology behind design thinking.
The Ideology of Design Thinking
 Design thinking can (and should be) incorporated into all subject areas. It’s the process of creating critical thinkers and problem solvers.
The design thinking cycle begins with empathy. One needs to understand the audience for which one is designing the makerspace. Then, define the problem you are trying to solve. Let’s face it; one can’t win the race if one doesn’t know where the finish line is, right? The importance of Beginning with the End in Mind is crucial. Next, begin to ideate. When one has a good idea, one can build a prototype.
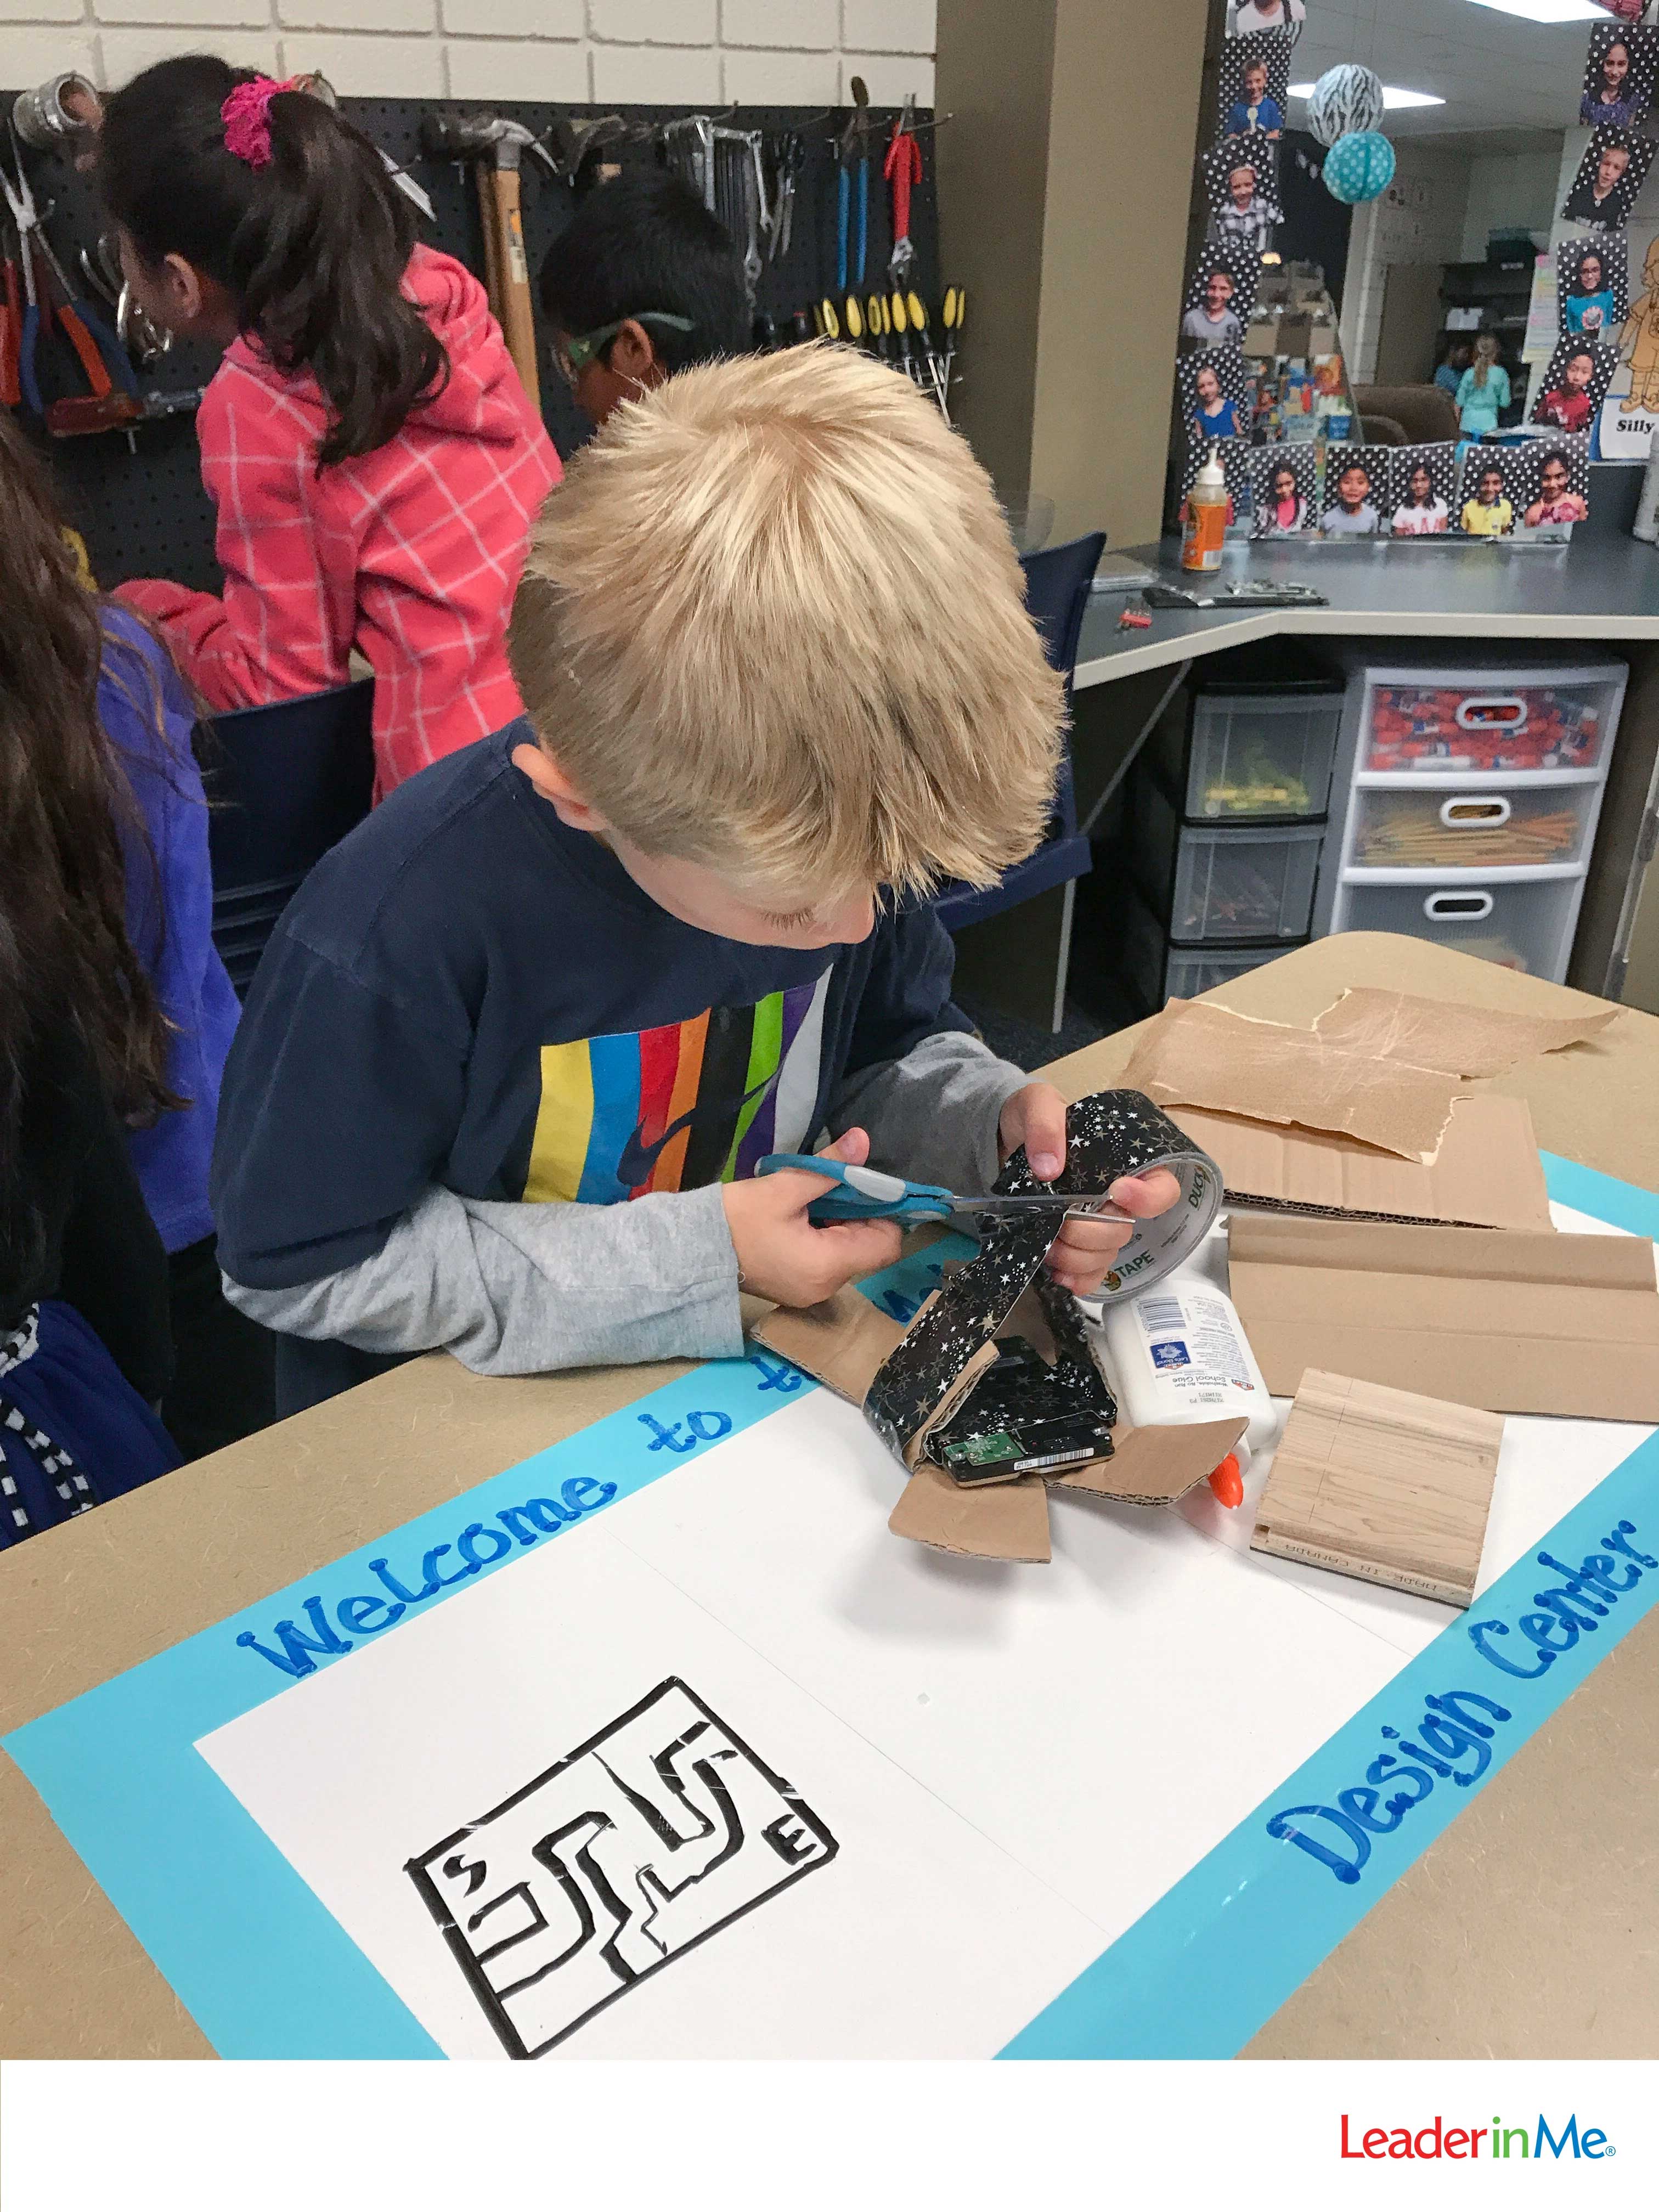
Prototypes can be made of ANYTHING! That’s where cardboard, duct tape, and butter tubs really shine! After a prototype is made, test it to see how it may (or in most cases, may NOT) solve the defined problem. We analyze the results and dive back into the design thinking process where it is most appropriate to do so based on the results we got.
But, where does one acquire all of the materials and tools needed to create a makerspace?
Collecting Materials
Tip: Create a sign-up genius each year for parents to contribute tools and supplies to.
Lots of times, one can simply acquire tools and supplies via donations from friends, family, neighbors, and student-families. If you have any local hardware stores, they are sometimes looking to unload items from their stores to make room for new inventory. Ask, ask, ask—you’d be surprised at how many people want to help!
Step 1: Become a Collector
Tip: Never look at something and say “No” to it because there’s always an idea that will be sparked by the most unusual or even the most mundane objects.
At Home: Start collecting household materials that students can easily manipulate.
Items including but not limited to:
- boxes of all shapes, sizes, and thicknesses (Boxes can be broken down and stored flat)
- toilet paper and paper towel rolls
- oatmeal canisters
- butter tubs
- plastic caps
- cartons
- microwave meal tubs
- fruit netting
You’ll be amazed by what students envision for these everyday objects.
At School: Begin to look at materials you already possess in different ways and repurpose.
Items including but not limited to:
- Craft sticks
- twist ties
- rubber bands
- magnets
- straws
- toothpicks
- coffee filters
- outdated or unused science and math materials
- recess toys (especially Legos and other building blocks or tinker toys)
- things other teachers or custodians want to throw away
- bubble wrap
- styrofoam
- broken appliances
- broken computers (computer parts make for very interesting details on a project)
Around your Neighborhood and Community: Whenever neighbors or friends are remodeling or cleaning house, that’s your opportunity for amazing collecting!
Items including but not limited to:
- Wood in any shape or size is a huge hit in a makerspace
- wood spindles
- PVC pipe
- door hinges
- cabinet pulls
- carpet samples
- old drapes or curtains
- tassels
Now that you’ve adequately stocked your makerspace with some materials to spark ingenuity and creativity, you’ve got to store it all.
Step 2: Store the Materials
Classrooms come in all shapes and sizes. I have been in large classrooms and I have been in very small classrooms across my 24-year teaching career. I’ve been in closed-campus and open-campus style classrooms. Do not let the size or space of your classroom limit your, or your students’ imaginations!
The key is using the design-thinking process to solve your own problems of space and storage. Start thinking about the things currently stored. How are they stored? Where are they stored? What is in your cupboards or closet? Have you used it in the last two years? Can it be given to another teacher, another grade level, be recycled? Can it actually be repurposed for makerspace?
Consider the Storage Situation
After thinking through your current storage situation and cleaning house, perhaps you have freed up some space. Are you still harboring an old file cabinet full of files you haven’t touched in years because all your files are digital now? Those big long drawers are great for storing long pieces of wood or PVC pipe or tools! Can you stack containers on top of cabinets? Can you store bins under tables and cover the front with a homemade skirt (to block the unsightliness of a bin under a table)? There are many creative solutions out there.
After considering your storage needs, here are a few tips on making the most of your storage space:
- Flatten all cardboard boxes and store them behind a bookshelf or in a box of their own.
- Repurpose old containers you have been storing for smaller materials such as twist ties, toothpicks, screws, etc.
- Label bins for ease of access for both you and students
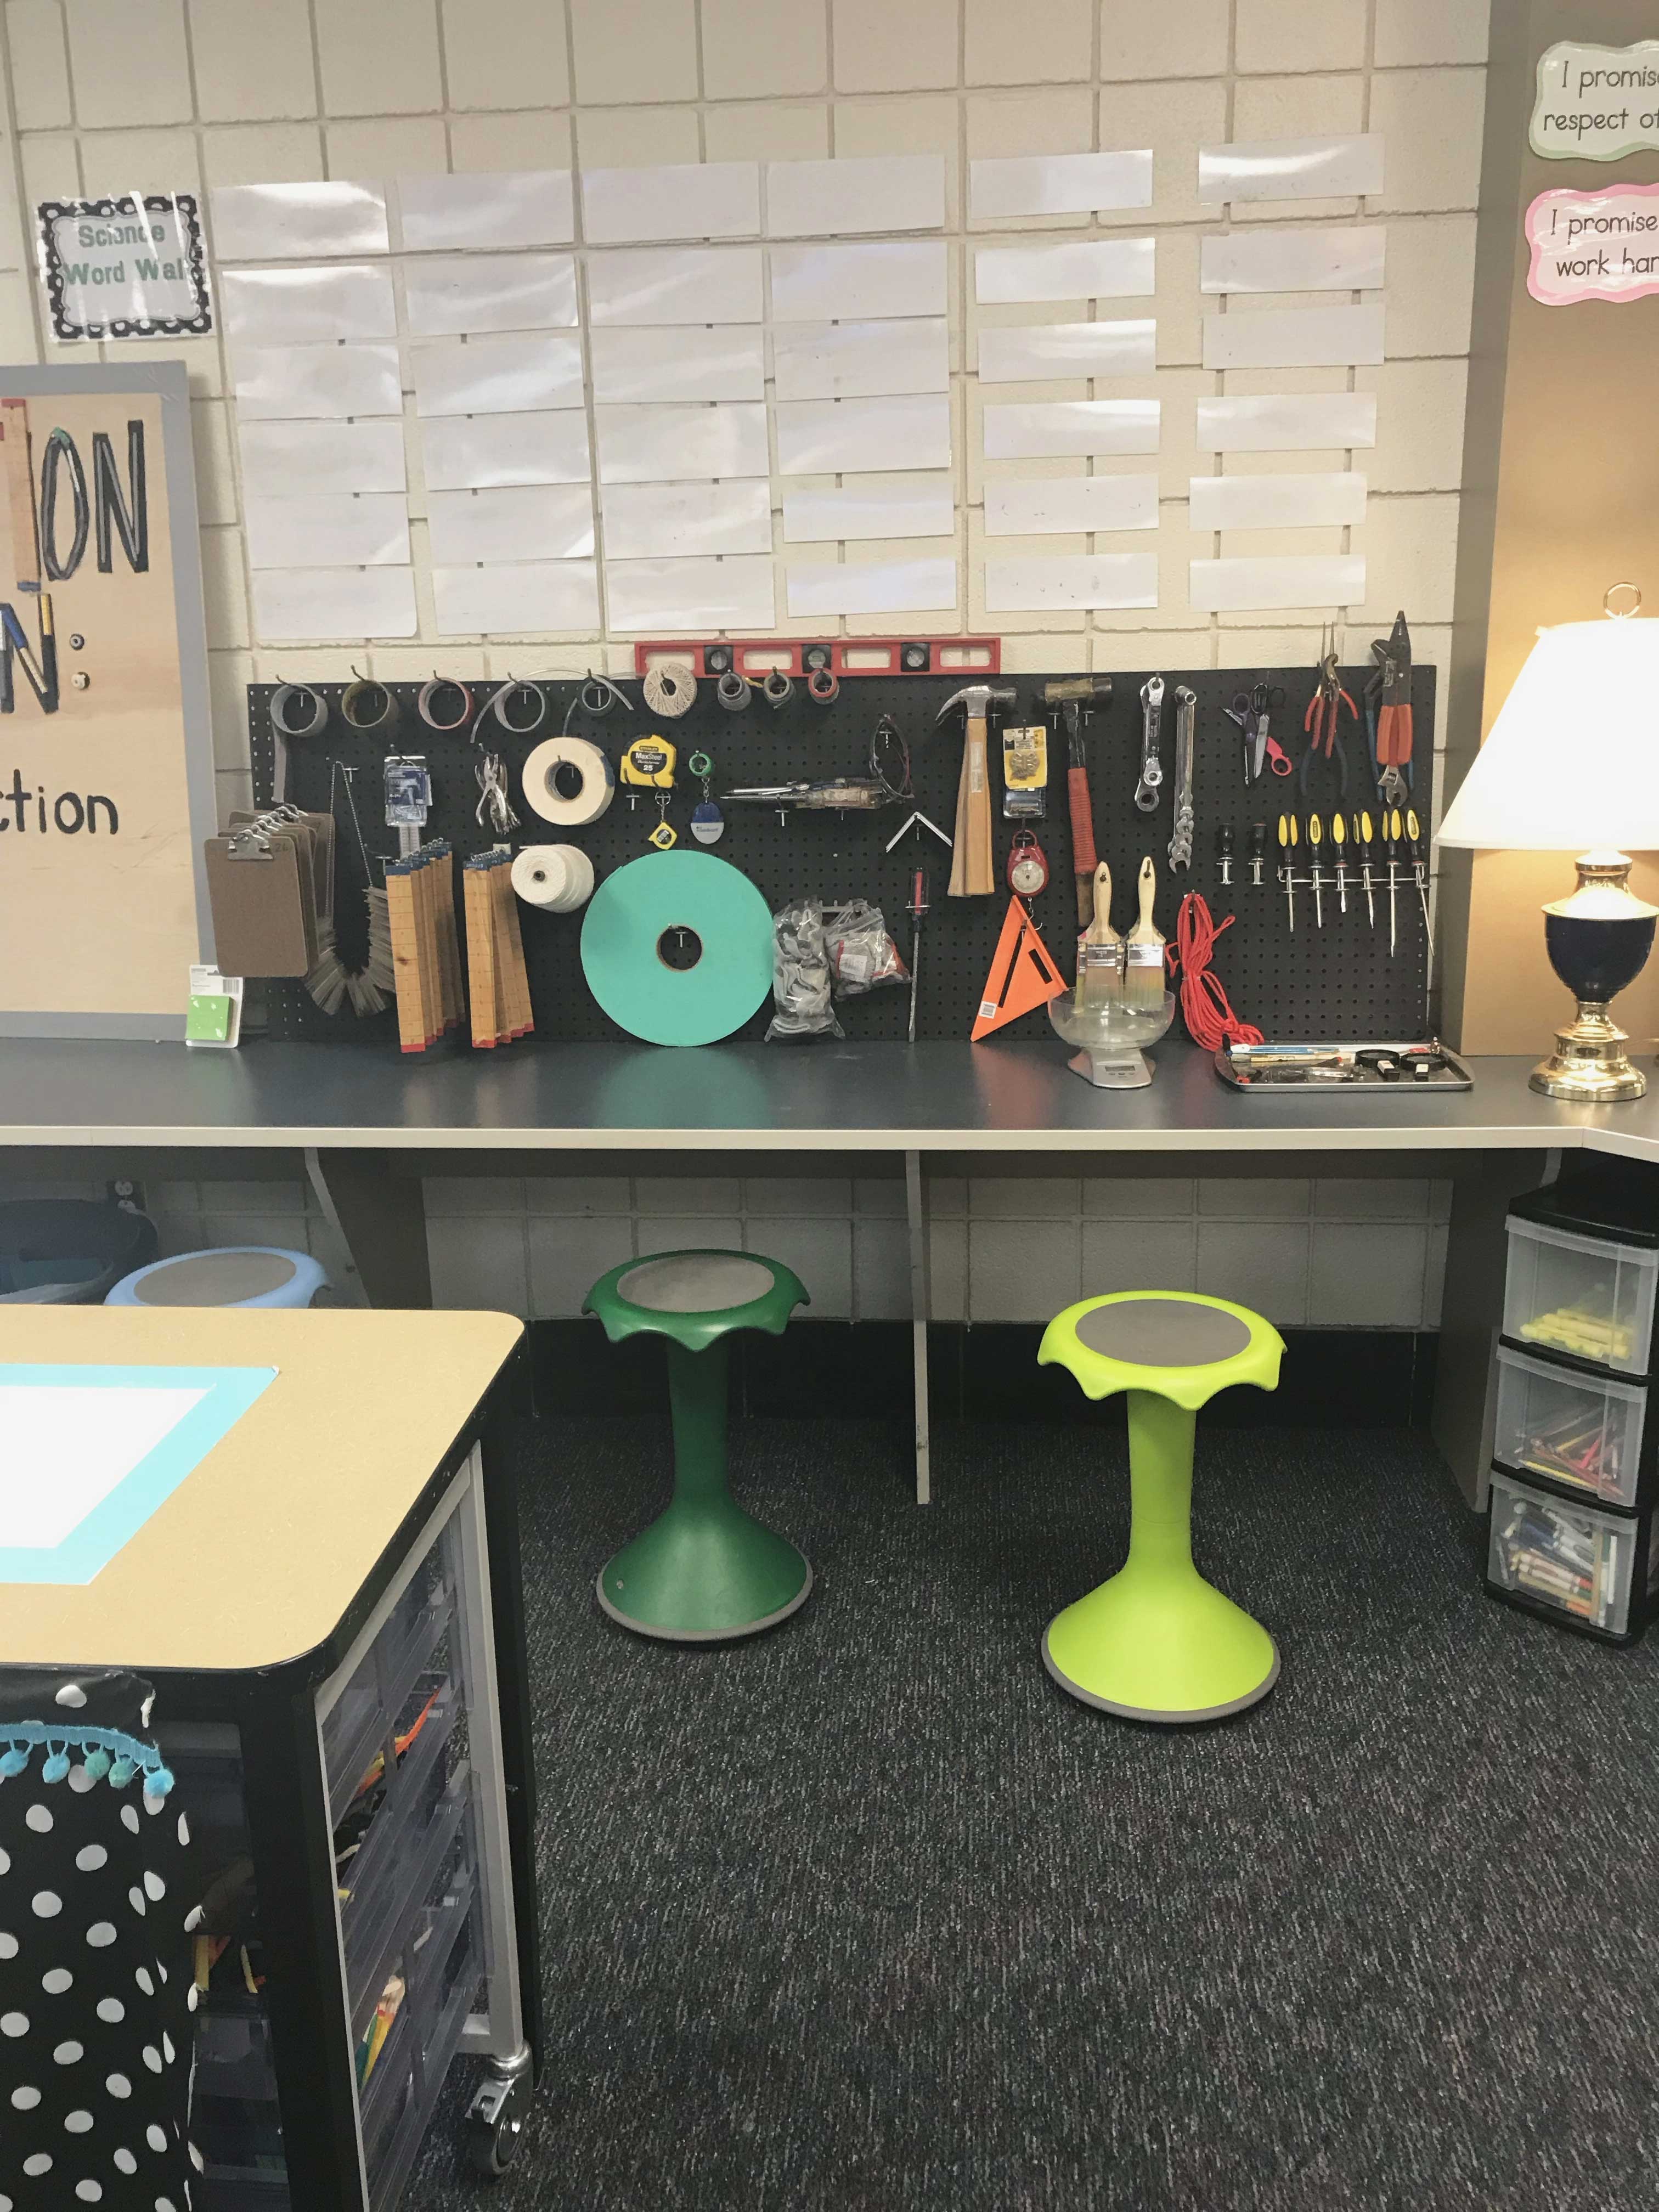
- If you have a space to hang a tool board or pegboard you can hang many items and materials in a small amount of space ( I have one resting on a countertop up against a wall).
- Rethink your current storage and clear out unneeded materials, move materials you do not use often, condense items, get rid of old files or items you have not used in a while–you will probably be surprised how much space you can find.
Step 3: Design Thinking and Makerspace Expectations
Teaching your students’ design thinking and introducing them to creative problem-solving environments is worthy of dedicated time. I begin the process by showing my students the short documentary, Caine’s Arcade. This documentary shows students the power of creative thinking and design thinking!
Allowing students to make things during makerspace time provides an authentic opportunity to ideate, try, fail, try again, and find success. Isn’t this what life’s all about? How often do we get things right or perfect the first time out? Failing and persevering are two of the most valuable skills we can teach today’s youth. If you’re still wondering the value of the time you will be giving up, keep reading, but so far we’ve established: it teaches a thinking process centered on creativity, empathy and perseverance, critical thinking, STEAM elements, and problem identification and solving.
During makerspace, on any given day, you can witness collaboration, measurement for accuracy, brainstorming, failing, perseverance, laughter, deep concentration, gravity, friction and other forces at work, subtraction, addition, trial and error, planning, and creativity. All of these things are also done in very authentic and meaningful ways–it’s learning at its finest. I dedicate 1 hour per week for makerspace, but the return on my time-investment comes back to me in all other subject areas! Some of the math and science content I need to teach become very authentically applied during this time. I also take it a step further and have them write about their prototypes and inventions for their informational writing unit (instead of writing about dolphins or giraffes AGAIN!). Makerspace helps me to share time, buy time and cut time on teaching content standards.
Makerspace Expectations and The Classroom
I mentioned tools earlier, and I encourage the use of tools if you have students 8 years or older, or can elicit some parental help during your makerspace time. My classroom involves: hammers, nails, screws and screwdrivers, drills, hand saws, an electric sander, and some electric saws that are used only by me. Before tools are introduced we establish these safety rules:
- You must ask permission and be supervised when using tools
- Carry all tools point down
- Use the tools only for their intended purposes, and
- Always be aware of the people around you before using or carrying tools.
You might be on board now, but still wondering if it’s as good as I have been portraying. You might be wondering about the reality of what it’s like once you release the students, or how to manage it all. You are right in these concerns, so let’s get into them.
Establishing Rules and Expectations
Establish rules and expectations with students before beginning. You will need to establish the rules about tools yourself because they just do not have enough context yet. Establish expectations around: planning, safety, materials management and usage, and cleaning! Keep it simple though; not too many things to remember, just the most important.
My rules and expectations are:
- You must ask permission and be supervised when using tools
- Carry all tools point down
- Use the tools only for their intended purposes
- Always be aware of the people around you before using or carrying tools.
- Everyone cleans up and within the given time frame!
An unwritten rule, but rather an expectation is that all “projects” begin with a plan. Oh, how they love to get building or painting, but they are not always ready for those steps. Much of makerspace is spent “figuring things out”.
The Results
I can honestly say that I have never had any issues with the 8-year-olds I teach in the four years of makerspace. Proper instruction and expectation ensure success.
By supplying tools and wood, the sky really is the limit! My first year providing a makerspace time, a student came to me and said he wanted to build a table. Honestly. I wasn’t sure how we were going to do this, but I said, “Okay! What do we need to get started?”
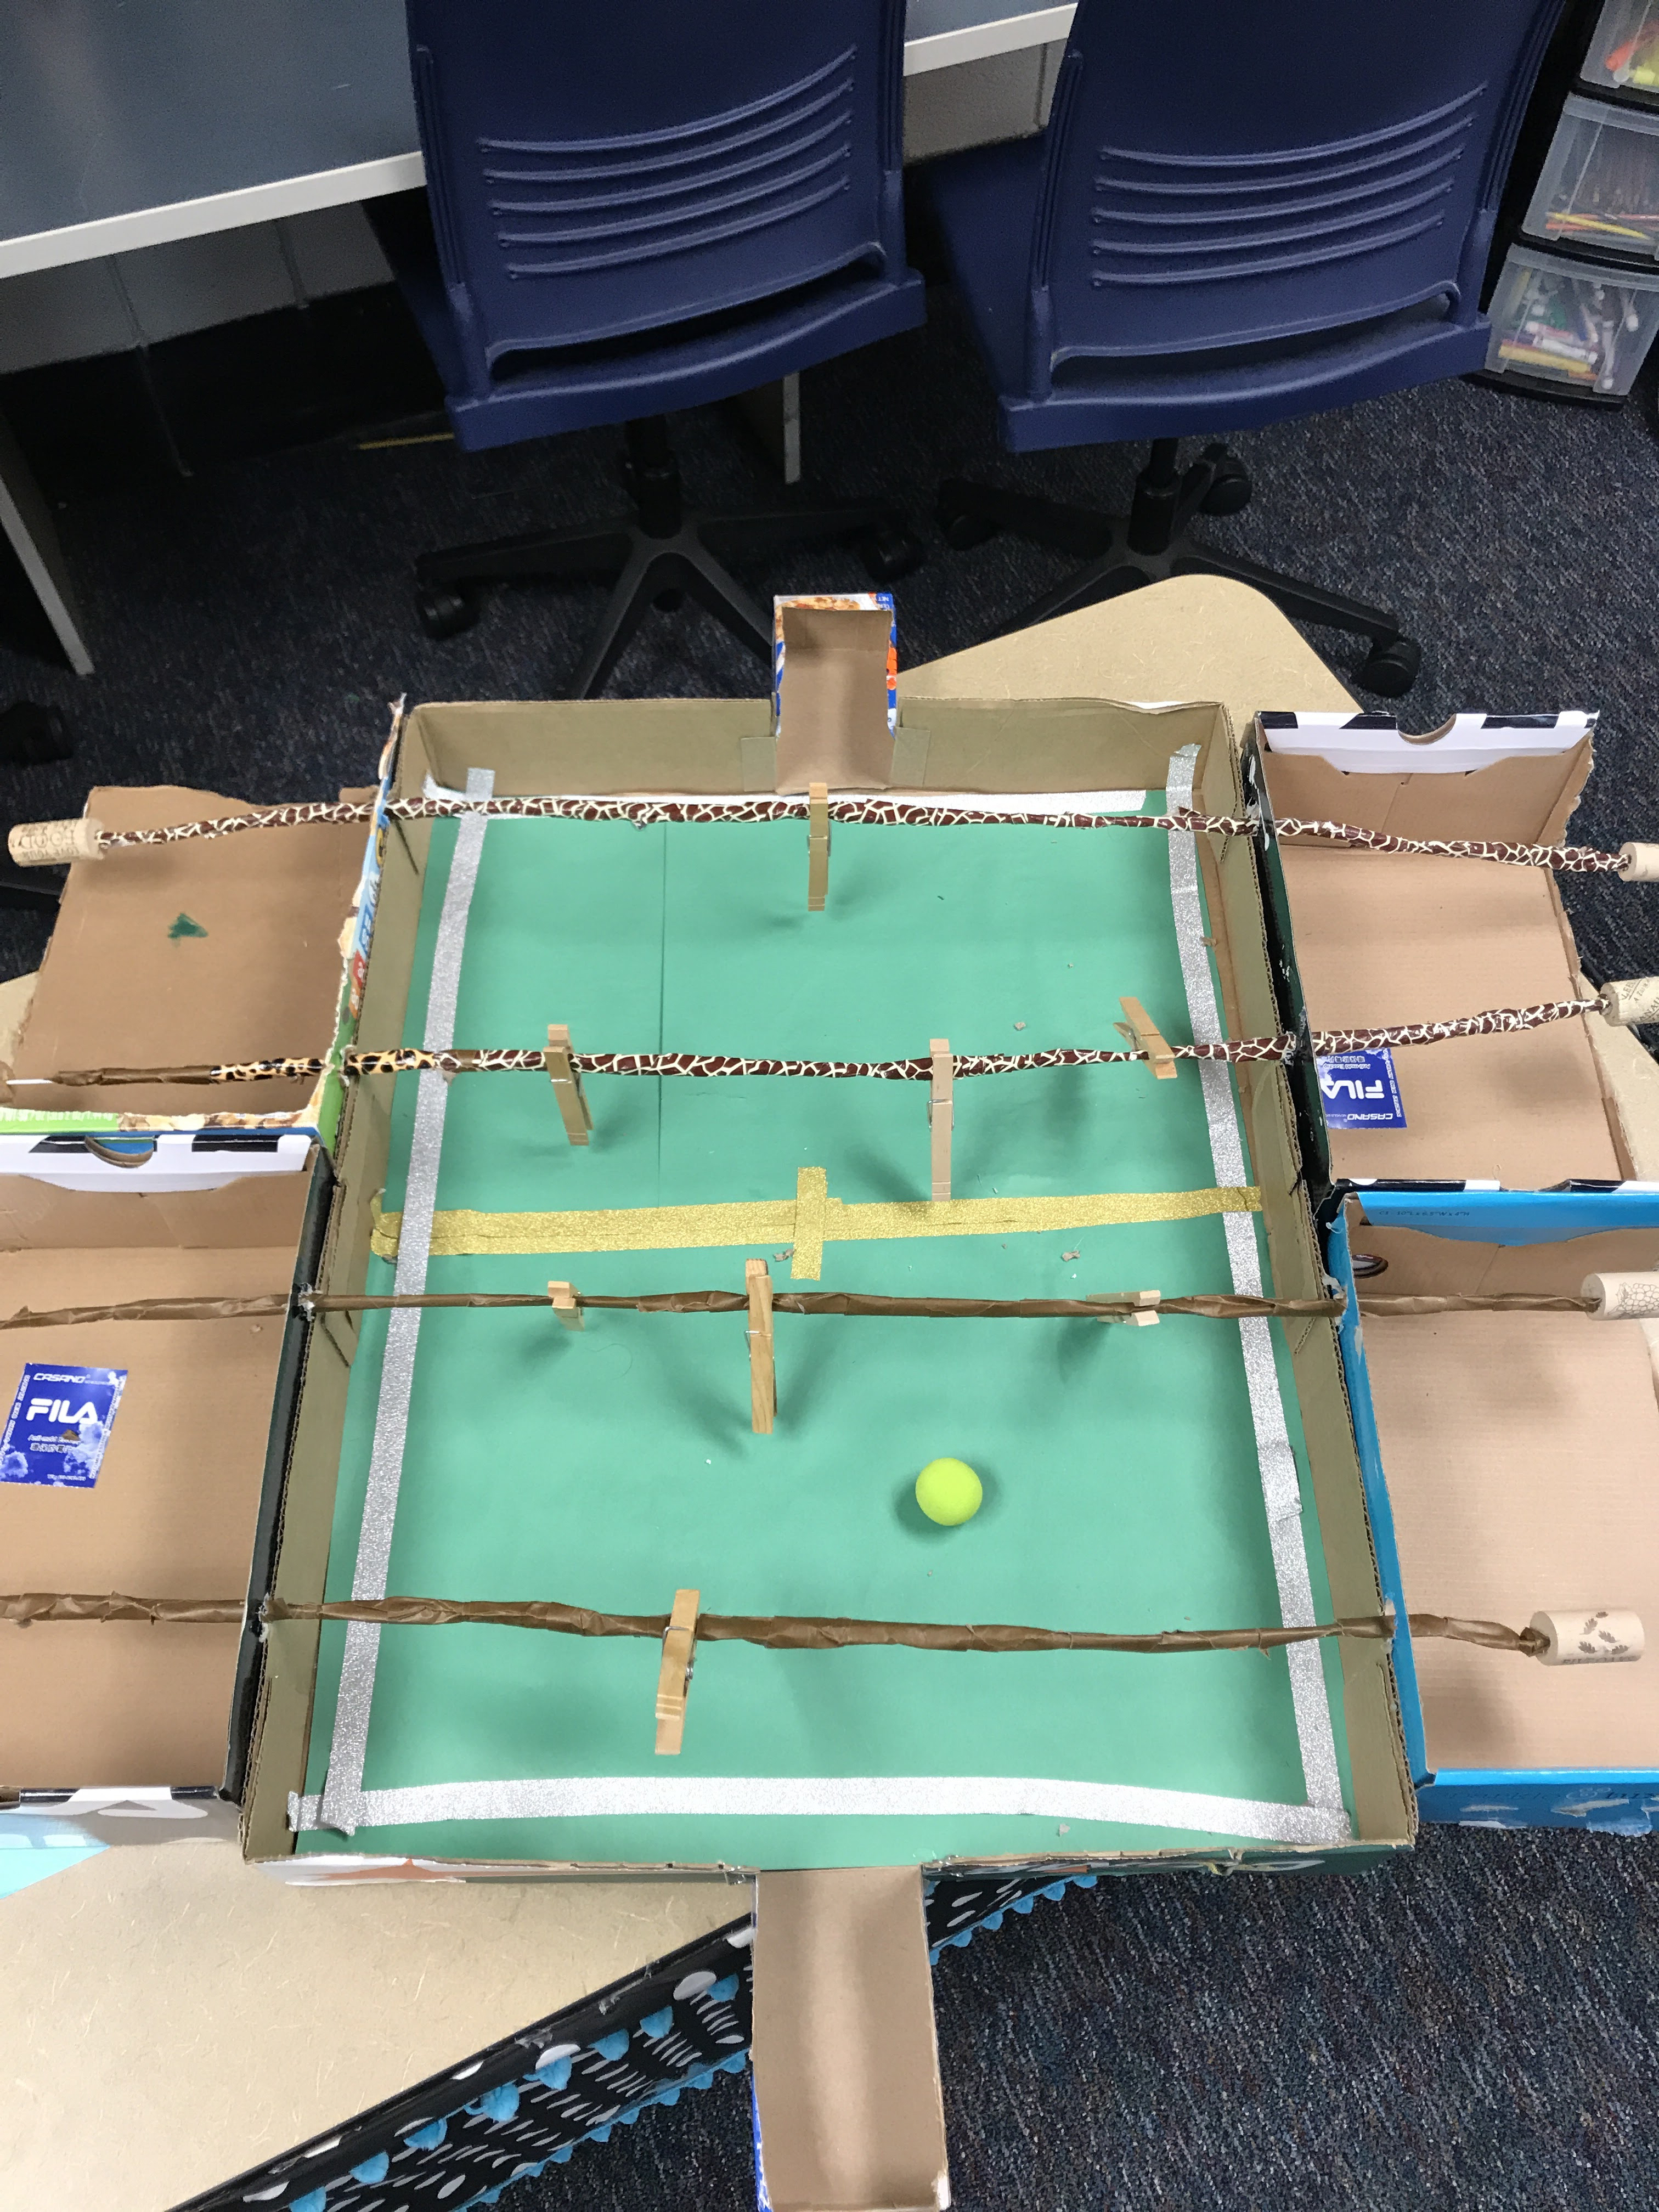
I’m happy to report by the end of the year we had a table for 4-6 kids to sit around (with built-in cup holders)! The next year, my class built an air-hockey table (minus the air). The year after that, we had full-size bookshelves, a sensory table with built-in specimen-collection bowls and a free little library! The point is if they can dream it, and you can guide them, it can be done! It’s very exciting and rewarding for all involved. When there is a sense that the sky’s the limit, the results are better because they’re ideas are limitless.
Now after you have established rules and expectations, watched Caine’s Arcade, taught about the design thinking cycle, and everyone has created a plan, it’s time to unleash them! And here’s what’s going to happen…some will go right to the most giant piece of wood you have and ask for you to cut a 3 cm piece out of it! Some will concoct something very quickly and ask to paint it! Some will walk around unsure of where to start! Some will ask you to solve the first problem they encounter! It may seem a little hairy in there because they all need you! It’s all normal, it’s all okay! The second week will feel much calmer, yet still a little hairy. By weeks 3-4, you are all in a groove and the real benefits start to emerge and it’s a beautiful thing. Hang in there–the rewards are great!
Teach your kids to empathize, define the problem they wish to solve, ideate, and think creatively about solutions! They will amaze you.
Share Article on
Tags: makerspace, project based learning, self-directed learning